Dye Penetration and Visual Inspection Techniques
Summary
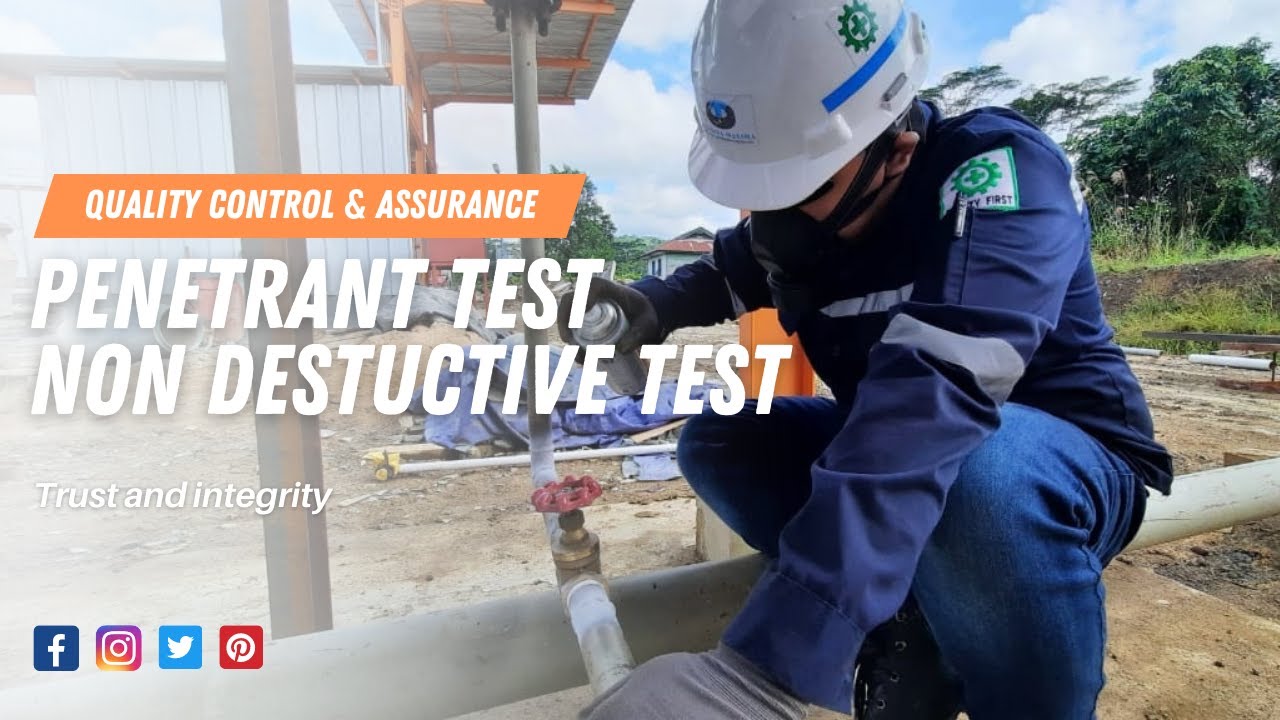
TLDRThis video provides an in-depth guide to dye penetrant testing and various welding inspection tools. The presenter demonstrates how to detect cracks in welds using dye penetrants, followed by a step-by-step guide on measuring weld dimensions with hand tools like the fillet weld gauge, V-WAC gauge, and bridge cam gauge. The video emphasizes practical applications, such as using strong backs to prevent plate warping, ensuring accurate readings, and checking the integrity of fillet welds. It also covers how to interpret test results and achieve high-quality, compliant welds in real-world scenarios.
Takeaways
- 😀 The importance of ensuring the welding plate sits flat and without any air gaps, as it impacts accurate measurements during inspections.
- 😀 Strongbacks are used to prevent plates from warping during welding, keeping the metal flat for tests and reducing stress when performing bending tests.
- 😀 Visual inspection with tools like the V-wag gauge is versatile, allowing inspectors to check flatness and alignment of welding plates.
- 😀 The V-wag gauge is useful for detecting any deviations in flatness, ensuring that the plate doesn't go below zero or have openings underneath the feet.
- 😀 The role of the strongback is critical for preventing the plate from curling after welding, which is important for testing flatness and accuracy during the bend test.
- 😀 The video emphasizes the process of dye penetrant testing, along with other essential hand tools used by welding inspectors to ensure quality.
- 😀 A bridge cam gauge can measure both bevel preparation and weld reinforcement, offering an all-in-one solution for multiple welding tests.
- 😀 The bridge cam gauge helps inspectors check the bevel of a plate, which is crucial for ensuring the proper angle (such as 22.5 degrees for D1.1 tests).
- 😀 The bridge cam gauge can also measure the size of fill welds, including checking the throat, concavity, and convexity of fillet welds.
- 😀 Inspectors and welders alike can benefit from using the bridge cam gauge to verify the quality of welds before official inspection, ensuring compliance with specifications.
Q & A
What is the purpose of a 'strong back' in welding tests?
-A 'strong back' is a scrap piece of metal welded onto a test plate to keep it straight during welding. This prevents the plate from warping, which could affect the accuracy of the test results, particularly when cutting strips for testing or conducting bend tests.
Why is it important to check that a test plate sits flat on the inspection surface?
-It's crucial to ensure the test plate sits flat to avoid any air gaps or unevenness. If the plate isn't flat, it could lead to inaccurate measurements or test results, such as failing a visual inspection due to warping or gaps underneath.
How does a V-wag gauge help in inspecting a test plate?
-The V-wag gauge is used to check the flatness of the test plate by ensuring that both sides of the plate sit correctly against the gauge. It provides a visual indication of any distortions or uneven surfaces, making it a versatile tool for inspectors.
What role does dye penetrant testing play in welding inspection?
-Dye penetrant testing is a non-destructive inspection method used to detect surface cracks, defects, or imperfections in a weld. The dye penetrant is applied to the surface, and after a specific waiting period, the surface is cleaned and inspected for any visible signs of defects.
How does a bridge cam gauge help in checking bevel preparation and weld size?
-A bridge cam gauge is a multi-purpose tool that helps inspectors measure bevel angles and weld sizes. It can check the miter or bevel of plates and assess the size of a fillet weld by providing accurate measurements of both the angle and the leg length of the weld.
What is the significance of a 22.5-degree bevel for a D1.1 welding test?
-For a D1.1 welding test, the bevel angle needs to be 22.5 degrees. The bridge cam gauge helps ensure the bevel angle is within this specification, ensuring the weld will meet the standard for the test.
How can inspectors measure the throat of a fillet weld with a bridge cam gauge?
-The bridge cam gauge allows inspectors to measure the throat of a fillet weld by reading the measurement on the gauge once it is placed flat on the weld. This provides a precise reading of the weld's throat size, which is critical for determining the weld's strength and quality.
What is the advantage of using a bridge cam gauge over traditional measuring tools?
-The bridge cam gauge combines multiple inspection functions into one tool, allowing inspectors to measure bevel angles, fillet weld sizes, and reinforcement without switching tools. This versatility makes it more efficient for weld inspections.
Why is it important to remove stress from the metal before conducting a bend test?
-Removing stress from the metal before a bend test is important to ensure the test results are accurate. If the metal is under stress, it may warp or distort during the test, leading to incorrect measurements or failure to meet the required standards.
How does using a strong back during welding help prevent warping during the welding process?
-Using a strong back helps prevent warping during welding by maintaining the flatness of the test plate. The strong back absorbs some of the stress generated by the welding process, ensuring that the plate remains straight and doesn't curl or distort, which could affect the test outcomes.
Outlines

This section is available to paid users only. Please upgrade to access this part.
Upgrade NowMindmap

This section is available to paid users only. Please upgrade to access this part.
Upgrade NowKeywords

This section is available to paid users only. Please upgrade to access this part.
Upgrade NowHighlights

This section is available to paid users only. Please upgrade to access this part.
Upgrade NowTranscripts

This section is available to paid users only. Please upgrade to access this part.
Upgrade NowBrowse More Related Video

Macam-macam NDT (Non Destructive Test)

Non-destructive testing (NDT) at TWI

Method, Crack Inspections & Symbol of Welding | Shielded Metal Arc Welding (SMAW) | Steel Structure

Pengujian Liquid Penetrant Test (Non Destructive Test / NDT)

In The Materials Lab Non Destructive Testing Network Rail engineering education 15 of 15

Stages of Welding Inspection
5.0 / 5 (0 votes)