Pengantar Penggunaan Mikroskop
Summary
TLDRThis histology practicum video guides viewers through the essentials of using a microscope for tissue examination. It covers the types of tissue cuts (longitudinal and cross sections), the different microscopes used (monocular and binocular), and the steps involved in preparing and observing histological samples. The video also explains how to adjust the microscope settings, including light intensity and magnification, to clearly view tissue structures. Additionally, it introduces common histological stains like hematoxylin-eosin, which give tissues their characteristic purple and red hues, highlighting key organelles such as the nucleus and cytoplasm.
Takeaways
- 🔬 Histology is the study of tissues, including their cellular components and extracellular matrix.
- 🧪 Histological examination requires preparing tissue samples using specific sectioning methods.
- ✂️ There are two common types of tissue cuts: longitudinal sections (along the organ's length) and cross sections (perpendicular to the organ's length).
- 💡 Bright-field microscopy is used to observe histological preparations, producing a white backlight.
- 👁️ Two types of microscopes are used: monocular and binocular, both powered electrically.
- ⚙️ Before use, ensure the microscope is connected to a power source and switched on.
- 🔧 Proper microscope setup involves adjusting the eyepiece, stage position, and objective lens magnification, starting with the lowest magnification.
- 💡 Light intensity and diaphragm adjustments are necessary to achieve optimal visibility of the sample.
- 🖼️ The sample is usually stained with hematoxylin-eosin (H&E), coloring nuclei purple and cytoplasm or connective tissue reddish/magenta.
- 🔎 Observations involve careful horizontal and vertical adjustments of the stage, focusing with the micrometer, and switching to higher magnifications as needed.
- 🧫 Hematoxylin-eosin staining allows visualization of key cellular structures, including the nucleus, cytoplasm, and in some tissues, rough endoplasmic reticulum.
Q & A
What is histological examination?
-Histological examination is the study of tissue composed of cell components and its extracellular matrix, usually observed through prepared histological slides.
What are the two common types of tissue sections used in histology?
-The two common types are longitudinal sections, which are cut along the length of the organ, and cross sections, which are cut perpendicular to the length of the organ.
Which type of microscopy is used in this practicum for observing histological preparations?
-Bright-field microscopy is used, where the background light appears white.
What are the two types of microscopes mentioned in the practicum?
-The practicum mentions monocular and binocular microscopes, both using electrical energy as their light source.
What is the first step before using the microscope?
-Before using the microscope, ensure that it is connected to a power source and the switch is turned on.
How should the slide be positioned on the microscope?
-The slide should be placed on the work table and secured using the glass clamps to keep it in place.
What is the procedure for adjusting magnification and focus on the microscope?
-Start with the weakest objective lens (4x), adjust light using the diaphragm, position the slide with the macrometer, focus vertically with the micrometer, then switch to stronger magnifications as needed and refocus with the micrometer.
Why do histological preparations appear reddish to purple under the microscope?
-This coloration is due to hematoxylin-eosin (H&E) staining, where nuclei appear purple and cytoplasm, cell membranes, and connective tissue appear reddish or magenta.
Which organelles can be clearly seen with H&E staining?
-H&E staining allows visualization of the nucleus, cytoplasm, cell membranes, and in certain tissues, the rough endoplasmic reticulum.
How can different fields of view of the preparation be observed?
-By turning the macrometer horizontally, various areas of the slide can be examined under the microscope.
Outlines

Этот раздел доступен только подписчикам платных тарифов. Пожалуйста, перейдите на платный тариф для доступа.
Перейти на платный тарифMindmap

Этот раздел доступен только подписчикам платных тарифов. Пожалуйста, перейдите на платный тариф для доступа.
Перейти на платный тарифKeywords

Этот раздел доступен только подписчикам платных тарифов. Пожалуйста, перейдите на платный тариф для доступа.
Перейти на платный тарифHighlights

Этот раздел доступен только подписчикам платных тарифов. Пожалуйста, перейдите на платный тариф для доступа.
Перейти на платный тарифTranscripts

Этот раздел доступен только подписчикам платных тарифов. Пожалуйста, перейдите на платный тариф для доступа.
Перейти на платный тарифПосмотреть больше похожих видео

(Histopathological techniques) Methods of study 1 explained in English

Histology at Bristol

Hematoxylin & Eosin Staining Procedure, Principle with Video Lecture

BIOLOGY 10 - Basic Microscope Setup and Use
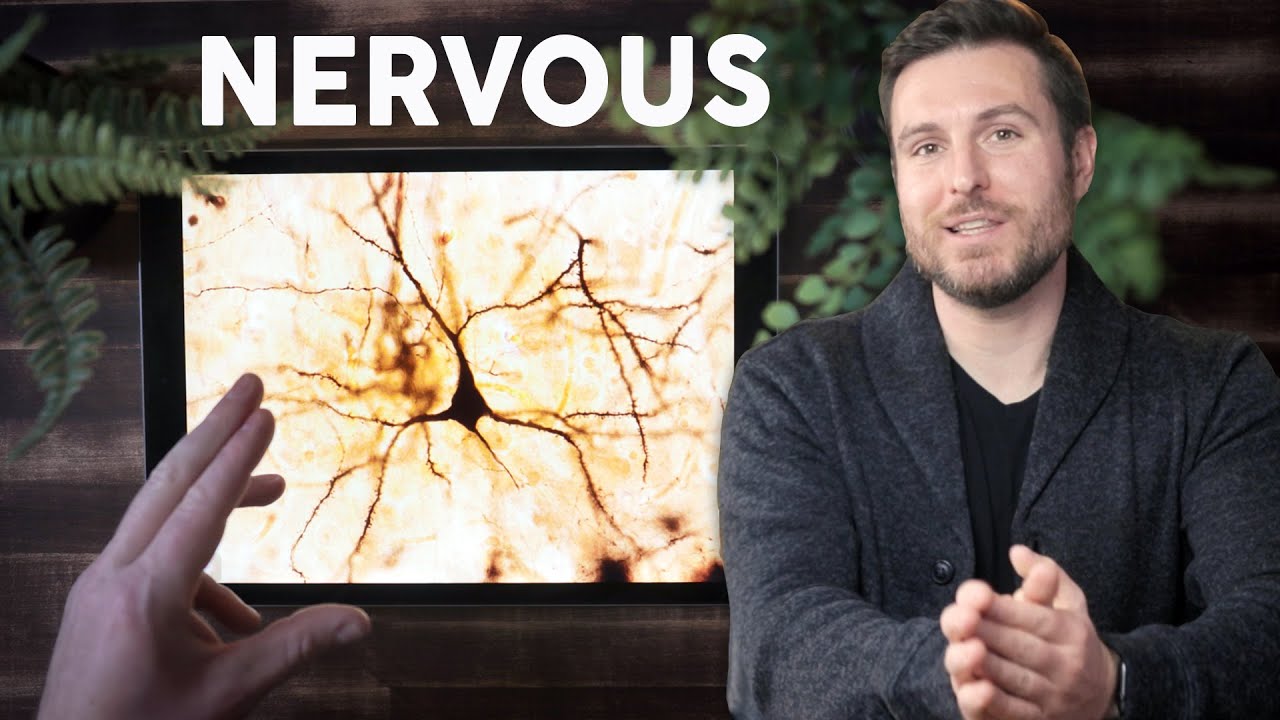
Nervous Tissue Histology Explained for Beginners
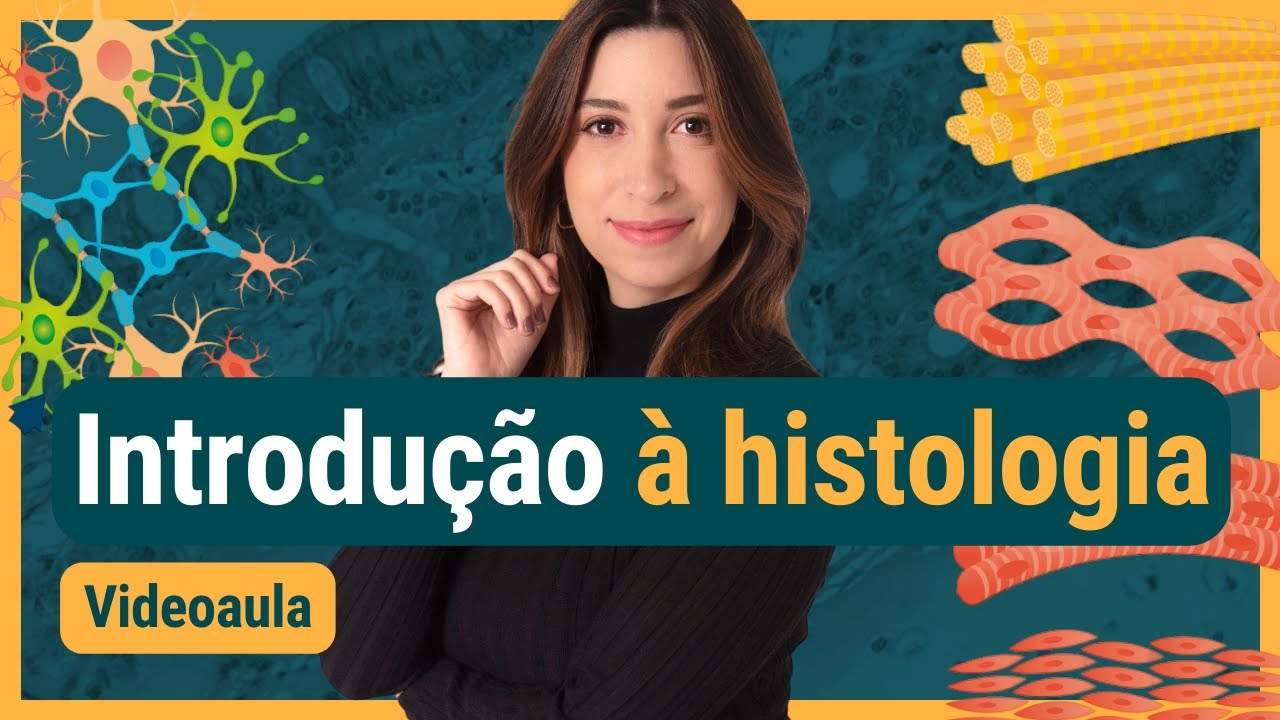
Introdução à HISTOLOGIA: definição, composição dos tecidos e tipos de tecidos.
5.0 / 5 (0 votes)
