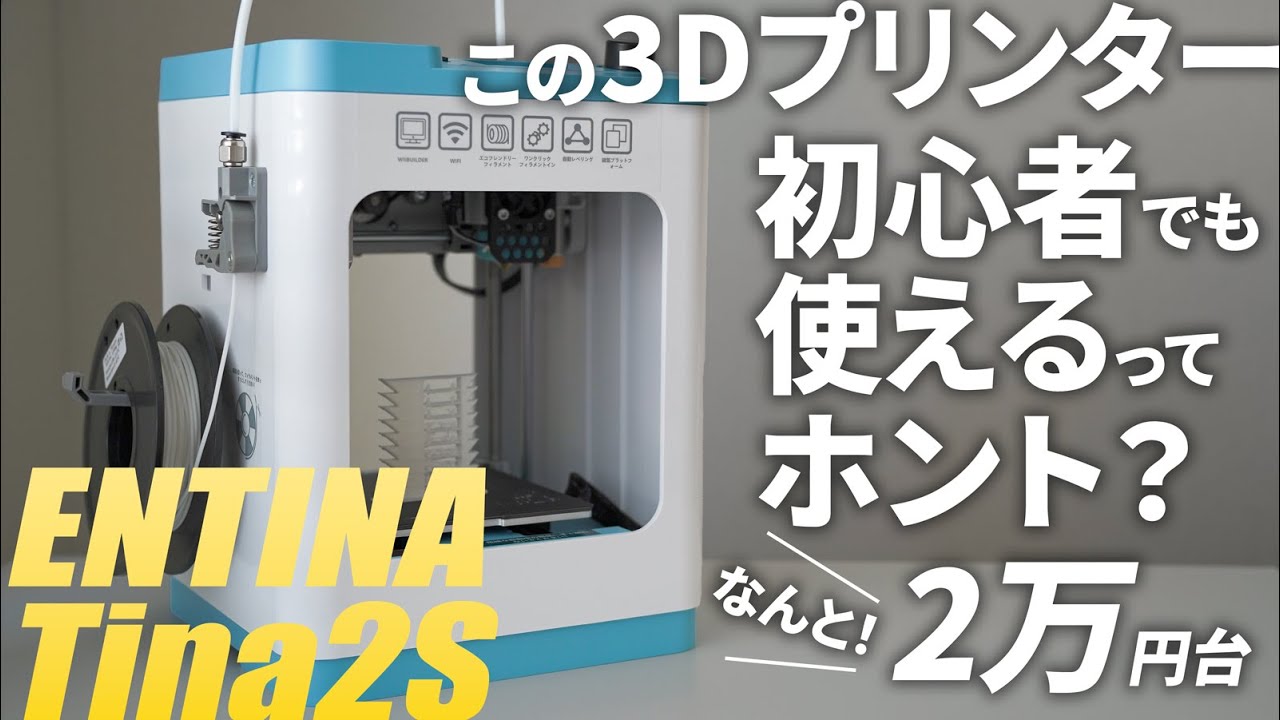
Tina 2S kids 3D printer. Better than the toybox. ENTINA 3D printer
Summary
TLDR本视频介绍了一款名为Tina 2s的儿童友好型3D打印机。这款打印机价格合理,操作简单,支持多种连接方式,包括有线、micro SD卡和应用程序。它具有自动调平功能,使得打印准备过程变得轻松。视频中展示了打印机的开箱、设置、打印过程以及通过应用程序进行操作的步骤。最终,打印机成功打印出了各种有趣的模型,如兔子、坦克和光剑支架,展示了其打印精度和多功能性。
Takeaways
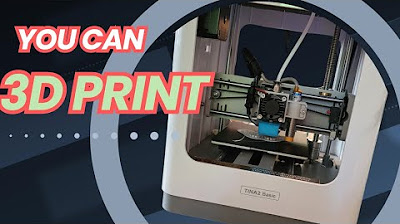
- 🖨️ 视频中介绍了一款名为Tina 2s的3D打印机,适合儿童使用。
- 🌈 Tina 2s有多种颜色可选,价格因颜色而异。
- 💰 与竞争对手Toy Box相比,Tina 2s的价格是其一半。
- 📦 开箱后需要移除泡沫和胶带,并取下轴上的保护盖。
- 📌 包装内包含了样品打印件、USB驱动器、胶水棒、样品丝材、电源和连接线等。
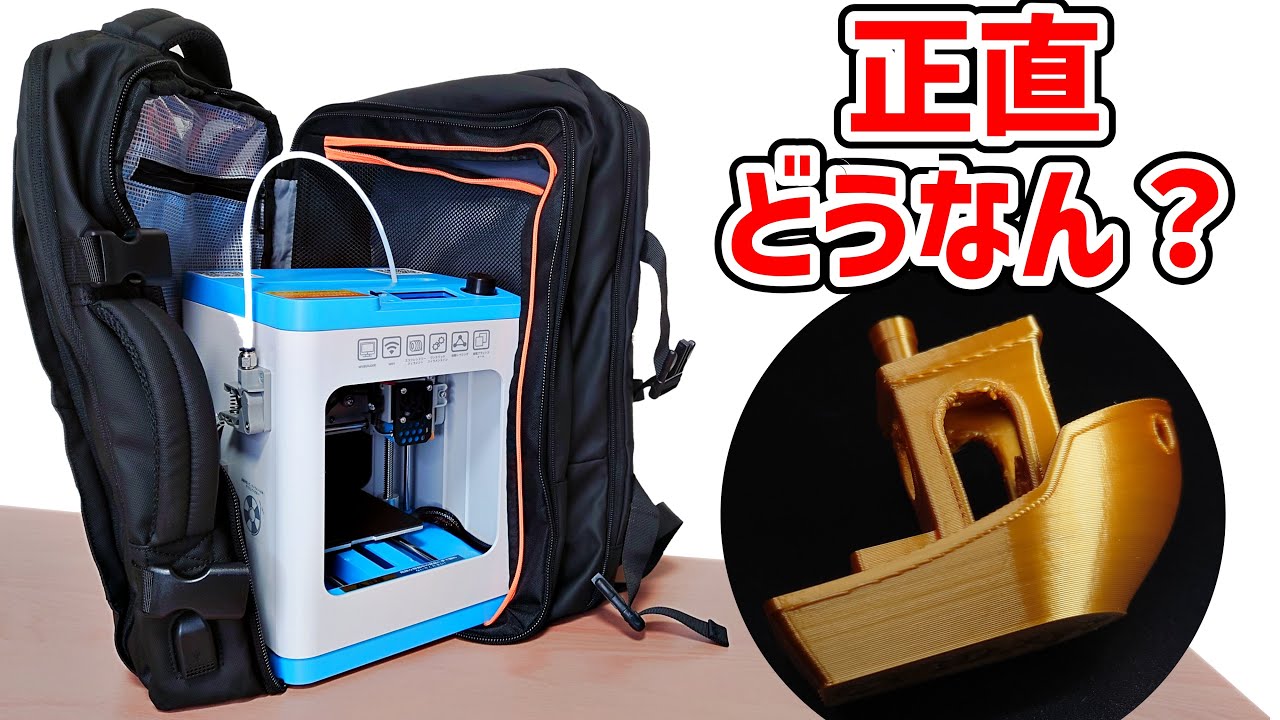
- 📱 Tina 2s支持通过Wi-Fi和专用应用程序进行操作,这是其一大特色。
- 📏 3D打印机的尺寸较小,打印板尺寸为4.25英寸×4.5英寸。
- 🔌 电源开关设计在电源线上,方便控制打印机的开关。
- 🔥 打印过程中,打印机的打印头会加热至210°C以熔化丝材。
- 🐰 首次打印的样品是一个兔子模型,展示了打印机的基本打印能力。
- 📱 通过应用程序,用户可以方便地选择和打印不同的3D模型。
- ⏱️ 打印一个模型大约需要1小时14分钟,打印完成后需要进行简单的清理。
- 👦 尽管Tina 2s适合儿童使用,但建议在成人监督下操作。
- 🔗 视频描述中提供了Tina 2s的购买链接,方便感兴趣的观众购买。
Q & A
Tina 2s 3D打印机有哪些颜色可供选择?
-Tina 2s 3D打印机有几种不同的颜色可供选择,但具体的颜色在脚本中没有详细说明。
Tina 2s 3D打印机的主要竞争对手是什么?
-Tina 2s 3D打印机的主要竞争对手是名为'玩具盒'(Toy Box)的3D打印机。
Tina 2s 3D打印机的价格区间是多少?
-Tina 2s 3D打印机的零售价格在116美元到180美元之间。
Tina 2s 3D打印机的尺寸是多少?
-Tina 2s 3D打印机的高度约为10.1/2英寸,宽度和深度都是7.3/4英寸。构建板的尺寸为4.1/4英寸宽和4.1/2英寸深。
Tina 2s 3D打印机是否需要用户进行床面校准?
-Tina 2s 3D打印机配备了自动校准床,因此用户不需要手动进行床面校准。
Tina 2s 3D打印机支持哪些连接方式?
-Tina 2s 3D打印机支持三种连接方式:通过附带的有线连接、通过附带的微型SD卡或通过可以下载的应用程序。
Tina 2s 3D打印机是否包含切片程序?
-是的,Tina 2s 3D打印机包含自己的切片程序,但用户也可以使用支持Tina 2s的其他切片程序,如Cura。
Tina 2s 3D打印机的保修期是多久?
-Tina 2s 3D打印机提供24个月的保修期。
Tina 2s 3D打印机是否适合儿童使用?
-Tina 2s 3D打印机适合儿童使用,但考虑到年龄因素,建议在成人监督下使用。
Tina 2s 3D打印机的打印效果如何?
-Tina 2s 3D打印机的打印效果非常好,打印线条平滑且均匀,能够打印出各种不同的玩具和物品。
Outlines

このセクションは有料ユーザー限定です。 アクセスするには、アップグレードをお願いします。
今すぐアップグレードMindmap

このセクションは有料ユーザー限定です。 アクセスするには、アップグレードをお願いします。
今すぐアップグレードKeywords

このセクションは有料ユーザー限定です。 アクセスするには、アップグレードをお願いします。
今すぐアップグレードHighlights

このセクションは有料ユーザー限定です。 アクセスするには、アップグレードをお願いします。
今すぐアップグレードTranscripts

このセクションは有料ユーザー限定です。 アクセスするには、アップグレードをお願いします。
今すぐアップグレード関連動画をさらに表示
持ち運べるコンパクト3Dプリンター ENTINA Tina2Sの実力とは!?

3D Printed my Own Accessories - Entina Tina2S 3D Printer
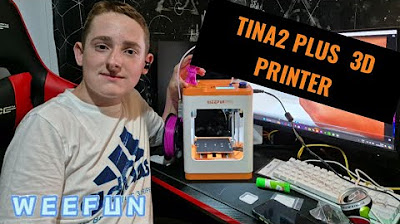
3D printing made easy with the Tina2 PLUS from WEEFUN!!
Entina 3D - It's a fun little printer! Product Review
【初心者におすすめ】3DプリンターENTINA Tina2Sで実際に作ってみた|レビュー|家でも簡単で子どもにも

Free Tinkercad Filament Adapter & Generic PLA Entina Tina2 Plus Tips
5.0 / 5 (0 votes)
