Cara Membuat Alat Uji Elektrolit Sederhana ⚡💡
Summary
TLDRIn this video, the presenter demonstrates how to create a simple circuit using two batteries, wires, and a small light bulb. The setup is tested with different solutions to observe their electrical properties. First, tap water is tested and fails to light the bulb, indicating it is a non-electrolyte. Next, a salt solution successfully lights the bulb and produces bubbles, confirming its electrolytic nature. Finally, a sugar solution does not activate the light, showing it is also non-electrolyte. The video concludes with a reminder to always verify the properties of solutions in such experiments.
Takeaways
- 😀 The experiment begins by preparing two batteries and black insulating tape.
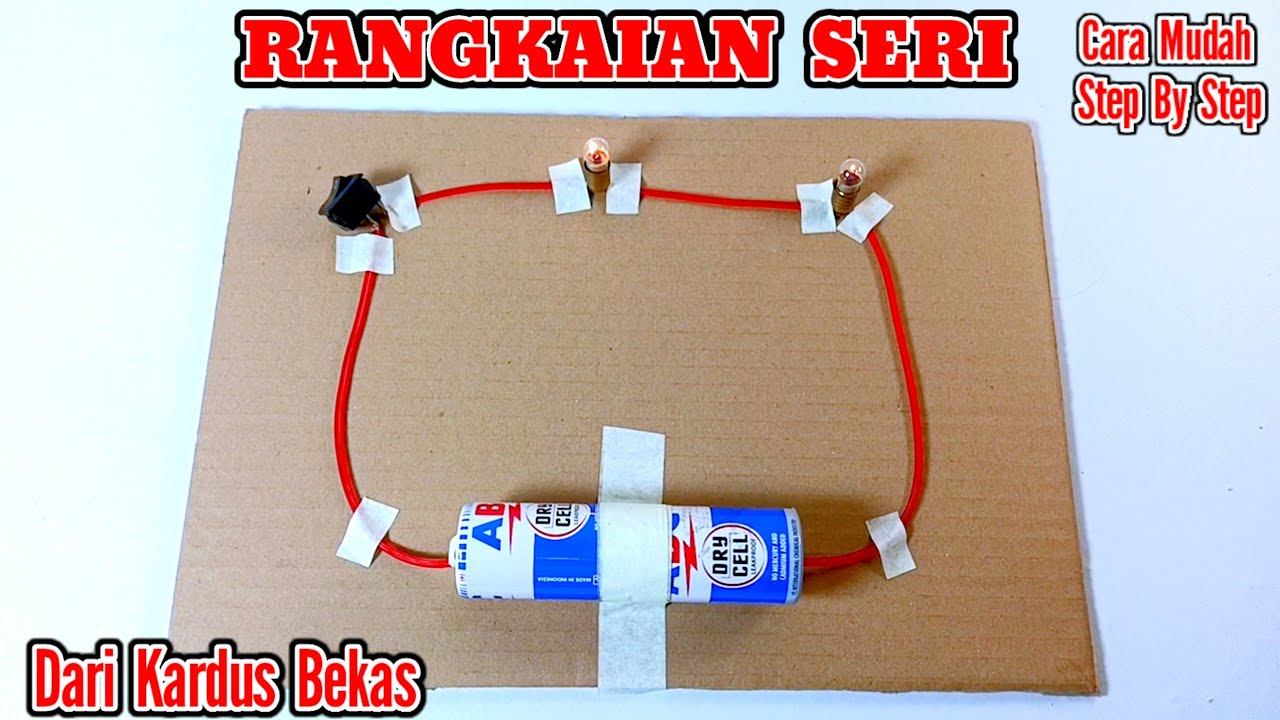
- 😀 The batteries are connected together and secured to a surface using tape.
- 😀 Wires are attached to the ends of the batteries.
- 😀 A small light bulb is connected to the wires and wrapped.
- 😀 Another wire is attached to complete the circuit.
- 😀 Two nails are connected to the wires in the next step.
- 😀 The goal is to test whether the light bulb will light up, indicating an electric circuit.
- 😀 The first solution tested is tap water, which does not cause the light to turn on, indicating it is non-electrolyte.
- 😀 The second solution tested is saltwater, which causes the light bulb to turn on and bubbles to form, indicating it is an electrolyte.
- 😀 The third solution tested is sugar water, which does not cause the light to turn on or produce bubbles, indicating it is non-electrolyte.
- 😀 The video concludes by stating that the experiment demonstrates the difference between electrolyte and non-electrolyte solutions.
Q & A
What is the main purpose of the project shown in the script?
-The main purpose is to build a simple electrical circuit to test whether certain liquids are electrolytes or non-electrolytes.
What materials are used to build the testing device?
-The device uses two batteries, electrical wires, black tape, a small light bulb, two nails, and a base to hold the components.
Why are the two batteries connected together?
-The batteries are connected to increase the voltage, allowing enough electrical power to flow through the circuit and light the bulb.
What is the function of the wires in the experiment?
-The wires conduct electricity by connecting the batteries, bulb, and nails to form a complete circuit.
Why are nails attached to the ends of the wires?
-The nails act as electrodes that are inserted into the liquid solutions to allow electricity to pass through them.
How does the bulb indicate whether a solution is an electrolyte?
-If the bulb lights up, it means the solution conducts electricity and is an electrolyte. If it does not light up, the solution is a non-electrolyte.
What additional sign shows that a solution is an electrolyte besides the bulb lighting up?
-The formation of bubbles around the electrodes indicates that an electric current is causing a chemical reaction, confirming the presence of an electrolyte.
What was the result when testing tap water?
-Tap water did not produce bubbles and did not light the bulb, indicating it behaved as a non-electrolyte in the experiment.
What was the result when testing salt solution?
-The salt solution caused the bulb to light up and produced bubbles, showing that it is an electrolyte because it contains ions that conduct electricity.
What was the result when testing sugar solution?
-The sugar solution did not light the bulb and did not produce bubbles, showing that it is a non-electrolyte because it does not produce ions in water.
Why does a salt solution conduct electricity while a sugar solution does not?
-Salt dissolves into charged ions that can carry electric current, while sugar dissolves as neutral molecules that do not conduct electricity.
What scientific concept does this experiment demonstrate?
-The experiment demonstrates the concept of electrical conductivity in solutions and helps distinguish between electrolytes and non-electrolytes.
Outlines

Dieser Bereich ist nur für Premium-Benutzer verfügbar. Bitte führen Sie ein Upgrade durch, um auf diesen Abschnitt zuzugreifen.
Upgrade durchführenMindmap

Dieser Bereich ist nur für Premium-Benutzer verfügbar. Bitte führen Sie ein Upgrade durch, um auf diesen Abschnitt zuzugreifen.
Upgrade durchführenKeywords

Dieser Bereich ist nur für Premium-Benutzer verfügbar. Bitte führen Sie ein Upgrade durch, um auf diesen Abschnitt zuzugreifen.
Upgrade durchführenHighlights

Dieser Bereich ist nur für Premium-Benutzer verfügbar. Bitte führen Sie ein Upgrade durch, um auf diesen Abschnitt zuzugreifen.
Upgrade durchführenTranscripts

Dieser Bereich ist nur für Premium-Benutzer verfügbar. Bitte führen Sie ein Upgrade durch, um auf diesen Abschnitt zuzugreifen.
Upgrade durchführenWeitere ähnliche Videos ansehen

#eps4 MEMBONGKAR KEBOHONGAN MAGNET BISA MENGHASILKAN LISTRIK.|| generator free energy
Cara Membuat Rangkaian Seri / Rangkaian Listrik Yang Dipasang Secara Berurutan Mudah Dan Sederhana

#1 Circuitos Elétricos em Série - IFÍSICA

Beginner Electronics - 3 - Closed/Open Circuits

Cara Membuat Rangkaian Listrik Seri Dengan Cara Yang Mudah

ÁGUA SALGADA CONDUZ ELETRICIDADE? (experimento) / Sal Water Circuit
5.0 / 5 (0 votes)
