How to Find Institutional Supply & Demand Zones (with ZERO experience)
Summary
TLDRIn this video, the host explains how most traders mistakenly identify supply and demand zones, which impacts their success. The video details the key aspects of these zones, such as how they form, the role of institutional money, and how to identify high-probability zones to trade with the market flow. It covers methods for drawing accurate zones, key rules for filtering out ineffective zones, and the importance of smart money techniques like liquidity sweeps. Ultimately, it provides practical strategies for more effective trading, emphasizing patience and precision.
Takeaways
- 😀 90% of traders mark supply and demand zones incorrectly, which impacts their win rates.
- 😀 High-quality institutional zones are critical for successful trading; missing them can lead to poor trading outcomes.
- 😀 The market doesn't just explode out of nowhere; price action typically forms an accumulation or a narrow range before significant moves.
- 😀 Supply and demand zones are created when price breaks through a base with force, driven by an imbalance between supply and demand.
- 😀 Traders should wait for price to retrace into a demand or supply zone before entering a trade to align with institutional money.
- 😀 The 'base' phase sets a trap where institutions induce liquidity on both sides of the market before initiating the real move.
- 😀 Institutions scale into positions gradually, especially around zones where previous trades have left footprints, making those zones important for traders.
- 😀 The four key stages of market movement are: the base, the expansion (rally or drop), the retracement and mitigation, and the continuation phase.
- 😀 To catch high-probability trades, traders should wait for price to tap into a higher time frame supply or demand zone, then zoom into a lower time frame for confirmation of a reversal.
- 😀 Key methods for marking supply and demand zones include the range zone, pivot zone, and fractal model, each offering different levels of precision based on risk tolerance and trading style.
- 😀 Not all supply and demand zones are significant. The best zones are those that break structure, show strong moves away, and haven't been tapped multiple times, as these are more likely to hold.
Q & A
Why is it important to accurately identify supply and demand zones in trading?
-Accurately identifying supply and demand zones is crucial because these zones represent areas where institutional money enters the market. Trading without spotting high-quality zones can lead to lower win rates or getting trapped on the wrong side of the market, which can significantly reduce profitability.
What is the base phase in the market, and why is it important?
-The base phase is a period where the market moves sideways within a narrow range, building momentum for the next big move. During this phase, liquidity is built on both sides of the range, making it a critical time for institutional players to induce more participants and set the stage for a strong market move.
What causes a bullish demand zone to form?
-A bullish demand zone forms when price breaks upward with strong buying pressure, creating a significant imbalance between supply and demand. This causes the price to rise rapidly, and the demand zone is identified at the origin of this sharp move. Traders should wait for price to retrace into this zone before entering a long position.
Why should traders avoid chasing price after a breakout?
-Chasing price after a breakout is risky because it often leads to entering a trade after the major move has already occurred. The smart approach is to wait for a retracement back into the established supply or demand zone, where the market is more likely to respect institutional positions and provide a higher probability for success.
What are the key characteristics of a high-quality supply or demand zone?
-A high-quality supply or demand zone is one that has caused a clear market structure break, followed by a strong, clean move away from the zone. It also involves areas where institutional money is active, such as during liquidity sweeps or when price has barely spent time in the zone before launching. Fresh, untested zones are more likely to provide strong reactions.
How can liquidity sweeps indicate smart money activity?
-Liquidity sweeps occur when price moves to trigger stop losses or pending orders around specific levels, such as equal lows or highs. This provides institutional traders with the liquidity they need to enter large positions without slippage. A zone formed immediately after a liquidity sweep is considered high-probability because it indicates where institutions are likely to defend their positions.
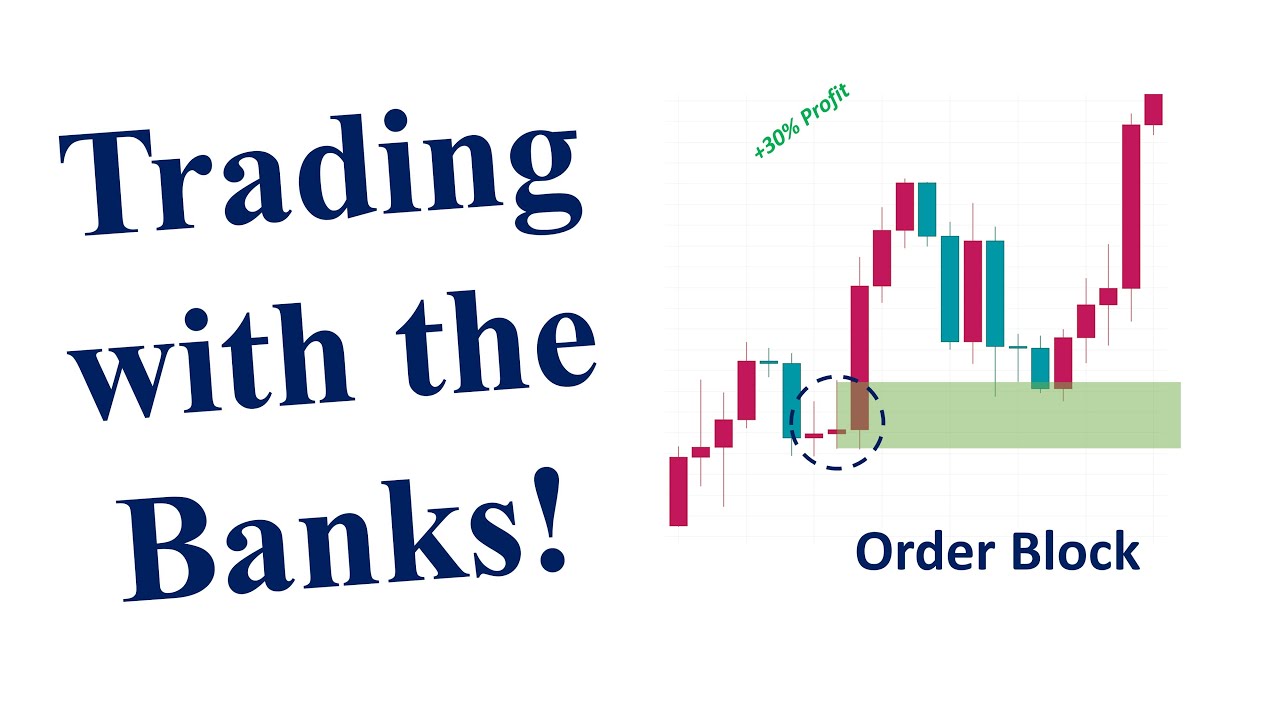
What is an order block and how is it used in trading?
-An order block is the last bullish or bearish candle before a significant market move, representing where institutional money stepped in to influence price. It marks the area where smart money entered the market, and is used to identify key supply or demand zones that are likely to be respected when price revisits them.
What role do market structure shifts play in identifying trade opportunities?
-A market structure shift occurs when the price breaks a significant high or low, signaling a change in trend direction. This shift serves as a key confirmation for traders that a supply or demand zone is active and provides a potential entry point for a trade, especially when combined with other indicators like PD arrays or order blocks.
How do you determine which supply and demand zones are worth focusing on?
-Focus on zones that cause a market structure break, exhibit strong moves away from the zone, and have fresh, untested conditions. Avoid zones that have been frequently tested or barely respected by price. The most reliable zones are those with strong price action and institutional involvement, indicating a higher probability of success.
What are the differences between the range zone, pivot zone, and fractal model methods for drawing supply and demand zones?
-The range zone method draws a broader zone from wick to wick of the entire candle, useful for catching more setups but with wider stop-losses. The pivot zone focuses on the last significant candle before a major move, offering more precision with tighter stop-losses. The fractal model zooms in on smaller time frames, using inside bars, wick zones, and wick-only optimization to identify high-precision areas for entry.
Outlines

Dieser Bereich ist nur für Premium-Benutzer verfügbar. Bitte führen Sie ein Upgrade durch, um auf diesen Abschnitt zuzugreifen.
Upgrade durchführenMindmap

Dieser Bereich ist nur für Premium-Benutzer verfügbar. Bitte führen Sie ein Upgrade durch, um auf diesen Abschnitt zuzugreifen.
Upgrade durchführenKeywords

Dieser Bereich ist nur für Premium-Benutzer verfügbar. Bitte führen Sie ein Upgrade durch, um auf diesen Abschnitt zuzugreifen.
Upgrade durchführenHighlights

Dieser Bereich ist nur für Premium-Benutzer verfügbar. Bitte führen Sie ein Upgrade durch, um auf diesen Abschnitt zuzugreifen.
Upgrade durchführenTranscripts

Dieser Bereich ist nur für Premium-Benutzer verfügbar. Bitte führen Sie ein Upgrade durch, um auf diesen Abschnitt zuzugreifen.
Upgrade durchführenWeitere ähnliche Videos ansehen
Supply & Demand Zones That Work Hosted by Sam Seiden
How to Find Liquidity Zones on Gold Chart Easily (XAUUSD analysis)

LIQUIDITY INDUCEMENT MASTERCLASS | Forex Trading With 'Smart Money' Concepts

This Supply & Demand Strategy Will Make You 10X Better As A Beginner

The Secret To Telling Where a TRADE Will Go Next | Step by Step
The Concept of Order Blocks - Smart Money Trading
5.0 / 5 (0 votes)
