EVERY Adobe Illustrator Tool EXPLAINED (in Under 20 Minutes)
Summary
TLDRThis video offers a comprehensive guide to all 87 Adobe Illustrator tools, each with unique functionalities and shortcuts. It covers essential tools like the Selection Tool (V), Direct Selection Tool (A), and Pen Tool (P), to advanced options like the Puppet Warp and Symbol tools. The tutorial highlights how holding modifier keys alters tool behavior and encourages experimentation for mastering Illustrator's extensive capabilities.
Takeaways
- 🖱️ The selection tool (V) is used to select entire objects and groups, as well as move, scale, and rotate them.
- 🎯 The direct selection tool (A) allows you to select and move individual anchor points, paths, and objects inside groups.
- ✨ The magic wand tool (Y) selects objects with similar properties, such as color and stroke, across the document.
- 🖌️ The pen tool (P) is used to draw paths by adding anchor points, with the option to curve paths by dragging.
- 📐 The shape tools (M, L, etc.) allow you to create and modify basic shapes like rectangles, ellipses, stars, and polygons.
- ✏️ The pencil and paintbrush tools (N, B) create freehand strokes, with options to adjust stroke smoothness and merge paths.
- 🎨 The gradient tool (G) lets you adjust the angle and position of a gradient, controlling the transition between colors.
- 🔧 The path tools (Shift + C, +, -, etc.) allow for editing anchor points and handles to adjust or smooth paths.
- 🖼️ The live paint bucket tool (M) enables you to fill enclosed areas with color in a live paint group.
- 🔍 The zoom tool (Z) provides a quick way to zoom in and out, with additional options to smoothly control the zoom level.
Q & A
What is the most fundamental tool in Adobe Illustrator according to the script?
-The most fundamental tool in Adobe Illustrator is the Selection Tool, which is used to make selections of entire objects, groups, and clipping masks, and also to move, scale, rotate, and round corners.
What is the shortcut for the Direct Selection Tool in Adobe Illustrator?
-The shortcut for the Direct Selection Tool is the letter 'A'. It is used to select and move individual paths, anchor points, and handles.
How does the Magic Wand Tool work in Adobe Illustrator?
-The Magic Wand Tool, with the shortcut 'Y', is used to select objects with similar properties such as color and stroke. It can select any object on the document, including those within groups and clipping masks.
What is the function of the Pen Tool in Adobe Illustrator?
-The Pen Tool, with the shortcut 'P', is used to draw paths. Each click adds a new anchor point, and dragging the mouse before releasing the click adds handles for curvature.
How can you create a perfect square using the Rectangle Tool in Adobe Illustrator?
-To create a perfect square using the Rectangle Tool, you hold the Shift key while clicking and dragging to create the rectangle.
What is the shortcut for the Type Tool in Adobe Illustrator?
-The shortcut for the Type Tool in Adobe Illustrator is the letter 'T'. It allows you to add text by clicking anywhere or create a textbox by clicking and dragging.
How does the Shape Builder Tool work in Adobe Illustrator?
-The Shape Builder Tool, with the shortcut Shift+'N', allows you to unite multiple paths into a single shape by clicking and dragging through them. It also enables deleting paths by holding Alt and dragging.
What is the purpose of the Live Paint Bucket Tool in Adobe Illustrator?
-The Live Paint Bucket Tool, with the shortcut 'M', is used to create live paint groups by selecting multiple objects and clicking with the tool. This allows you to paint enclosed paths with the selected color.
What does the Gradient Tool allow you to adjust on an object in Adobe Illustrator?
-The Gradient Tool, with the shortcut 'G', allows you to adjust the angle and position of the gradient, as well as the position of colors and transitions on an object that is painted with a gradient.
How can you measure a distance in the artboard using a tool in Adobe Illustrator?
-You can measure a distance in the artboard using the Measure Tool, which opens the Info panel to show the position of the start point, width and height distances, straight line distance, and angle of the measurement.
Outlines

هذا القسم متوفر فقط للمشتركين. يرجى الترقية للوصول إلى هذه الميزة.
قم بالترقية الآنMindmap

هذا القسم متوفر فقط للمشتركين. يرجى الترقية للوصول إلى هذه الميزة.
قم بالترقية الآنKeywords

هذا القسم متوفر فقط للمشتركين. يرجى الترقية للوصول إلى هذه الميزة.
قم بالترقية الآنHighlights

هذا القسم متوفر فقط للمشتركين. يرجى الترقية للوصول إلى هذه الميزة.
قم بالترقية الآنTranscripts

هذا القسم متوفر فقط للمشتركين. يرجى الترقية للوصول إلى هذه الميزة.
قم بالترقية الآنتصفح المزيد من مقاطع الفيديو ذات الصلة
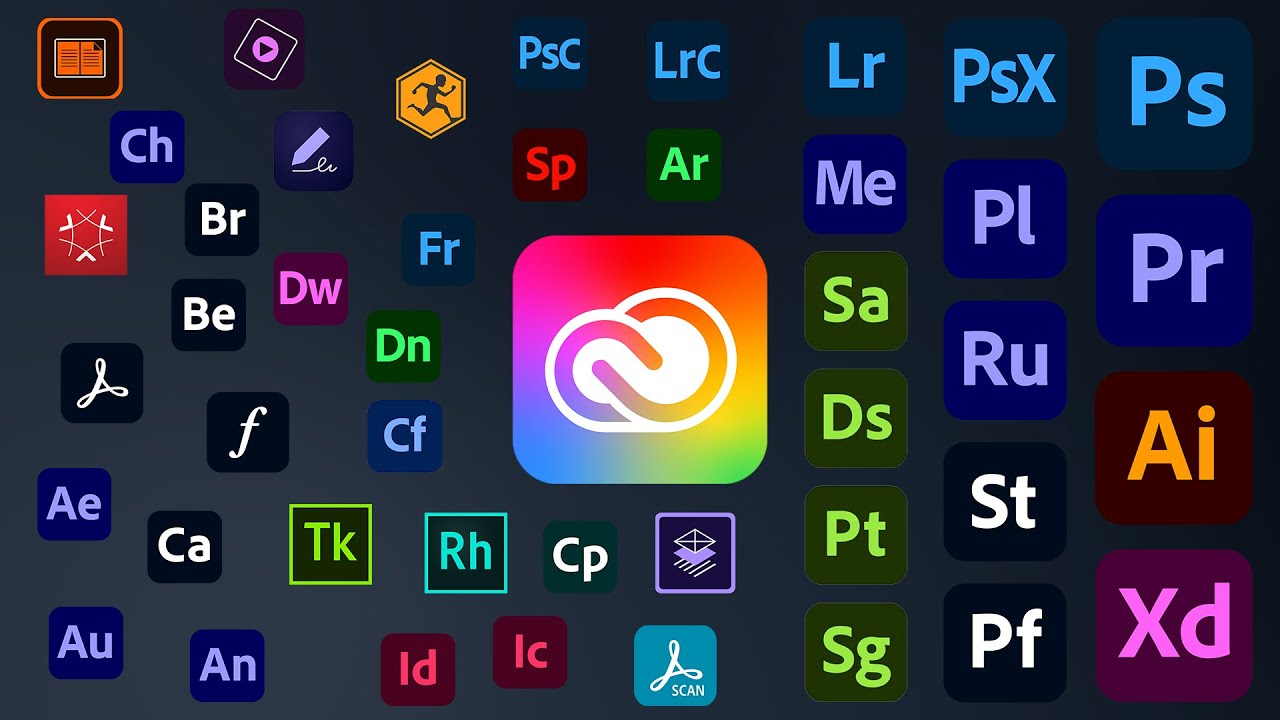
All 60+ Adobe apps explained in 9 minutes

[MODULE 2] Eps 3. Mengetahui Shortcut & Navigation Pada Ai (Part 1) | Dasar Adobe Illustrator
Web Design Software (2019) #4
[MODULE 1] Video Awal Pembelajaran Adobe illustrator Dari Pemula - Intermediate by Dayu.Designn
Adobe Illustrator for Beginners: Get Started in 10 Minutes

BELAJAR DESAIN GRAFIS • JENIS-JENIS DESAIN GRAFIS BERDASARKAN PEKERJAANNYA
5.0 / 5 (0 votes)
